dji mavic pro user manual
The DJI Mavic Pro, a compact and powerful drone, boasts 4 rotors for stable flight, offering a maximum operating distance of 80 meters.
With a 43.6 Wh battery and 11.4 V voltage, it’s a versatile tool, though recent discussions highlight potential issues with account access and firmware compatibility.
Recent updates regarding DJI’s business and battery compatibility, alongside concerns about LED regulations impacting weight limits, are crucial for informed operation.
What is the DJI Mavic Pro?
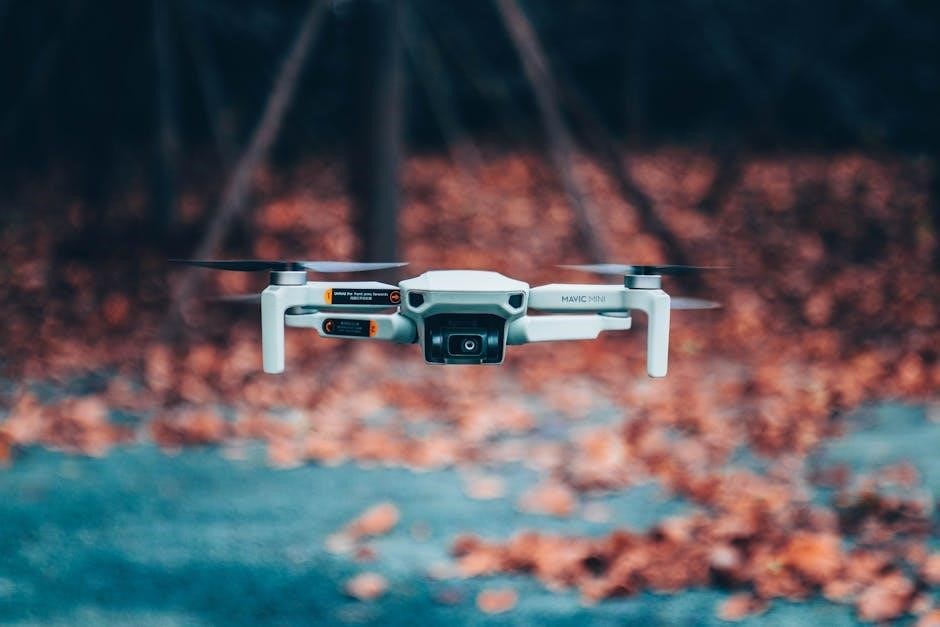
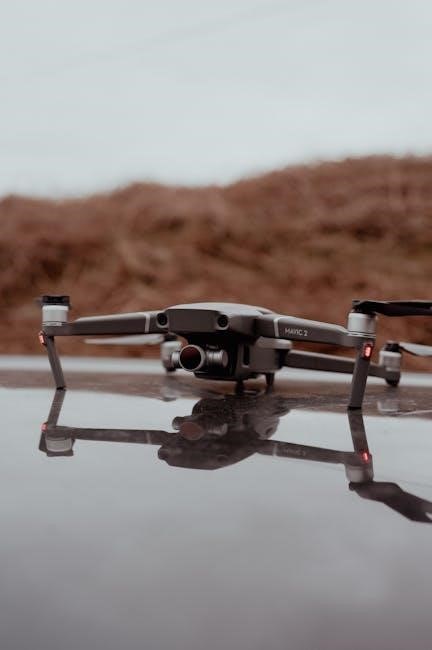
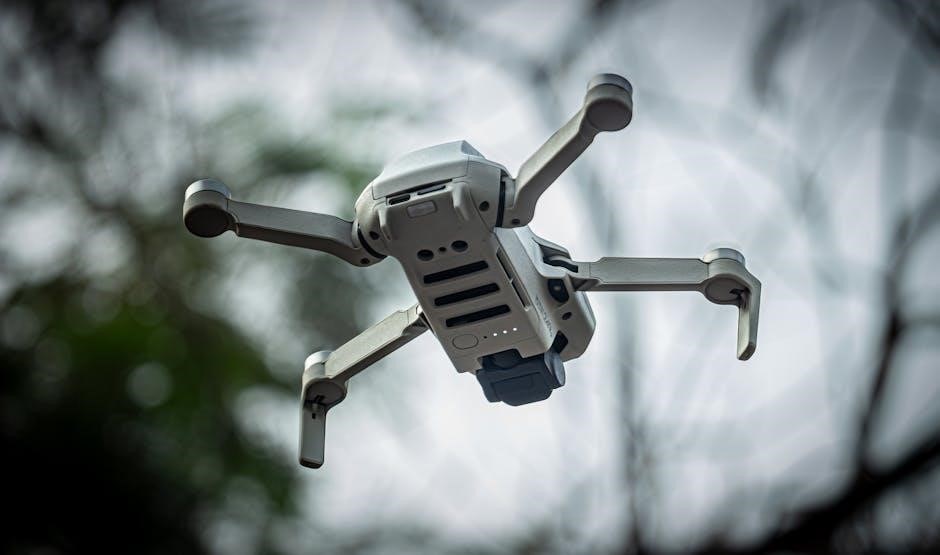
The DJI Mavic Pro represents a significant leap in drone technology, offering a compelling blend of portability and performance. It’s fundamentally a quadcopter, utilizing four rotors to achieve stable and controlled flight, making it accessible for both beginners and experienced pilots.
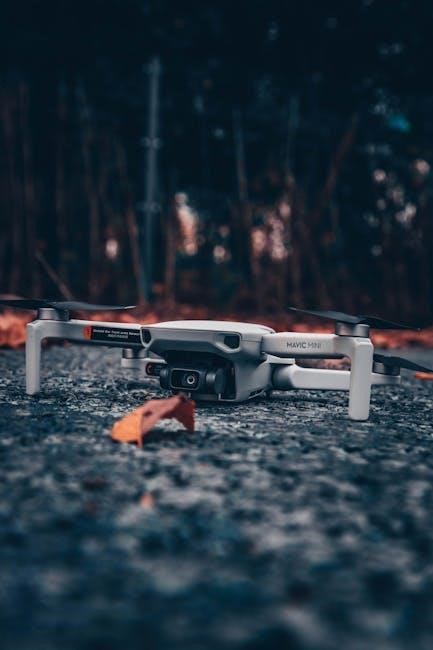
Originally released to considerable acclaim, the Mavic Pro quickly became a popular choice due to its foldable design, allowing for easy transportation and storage. This compact form factor doesn’t compromise its capabilities; it delivers a maximum operating distance of 80 meters, providing ample range for various aerial applications.
Powering this drone is a battery with a capacity of 43.6 Wh and a voltage of 11.4 V, offering a reasonable flight time. However, recent user experiences, as noted in online forums, highlight potential complexities with DJI accounts and firmware updates, emphasizing the importance of staying informed about the latest software and compatibility issues. It’s a drone that, while powerful, requires diligent user attention to ensure optimal performance and adherence to evolving regulations.
Key Features and Benefits
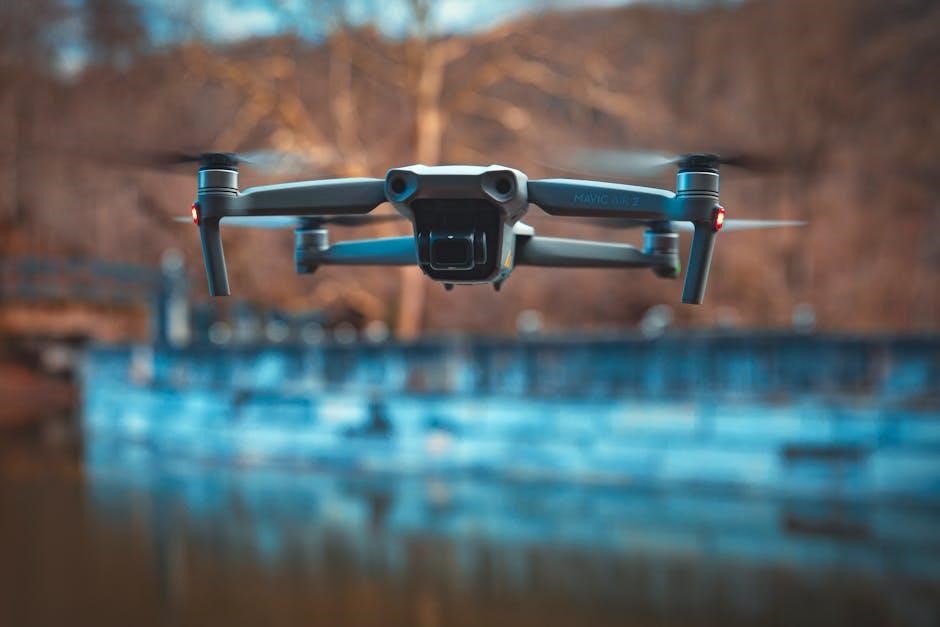
The DJI Mavic Pro distinguishes itself through several key features. Its compact, foldable design is paramount, enabling effortless portability for aerial enthusiasts. The quadcopter configuration, driven by a 43.6 Wh battery at 11.4 V, delivers stable flight and a respectable operational range of up to 80 meters.
Beyond portability, the Mavic Pro offers benefits related to ease of use and accessibility. While the user manual details operational procedures, recent online discussions point to potential hurdles with DJI account management and firmware updates – areas requiring user diligence.
Furthermore, the drone’s capabilities are impacted by evolving regulations, particularly concerning weight limits and LED visibility for night flying. Understanding these constraints, and potential workarounds, is crucial. The Mavic Pro, therefore, provides a powerful aerial platform, but one that demands informed operation and proactive attention to software and regulatory updates.
Intended Use Cases
The DJI Mavic Pro, as detailed in its user manual, caters to a diverse range of applications. Its portability and stable flight make it ideal for aerial photography and videography, capturing stunning visuals for both personal and professional projects. The 80-meter operational range allows for expansive scene coverage.
However, current online discussions highlight considerations impacting practical use. Regulatory compliance, particularly concerning weight restrictions and nighttime operation with LEDs, influences where and how the drone can be deployed. The need to navigate potential account access issues and firmware compatibility also shapes its usability.
Consequently, while suitable for recreational flying, surveying, and inspections, users must remain informed about evolving regulations and potential technical challenges. The Mavic Pro’s versatility is tempered by the need for diligent adherence to guidelines and proactive troubleshooting.
Unboxing and Component Overview
The DJI Mavic Pro package includes essential components for flight, while understanding drone anatomy – rotors, gimbal – is key for proper setup and maintenance.
The remote controller’s features will be explored.
Package Contents
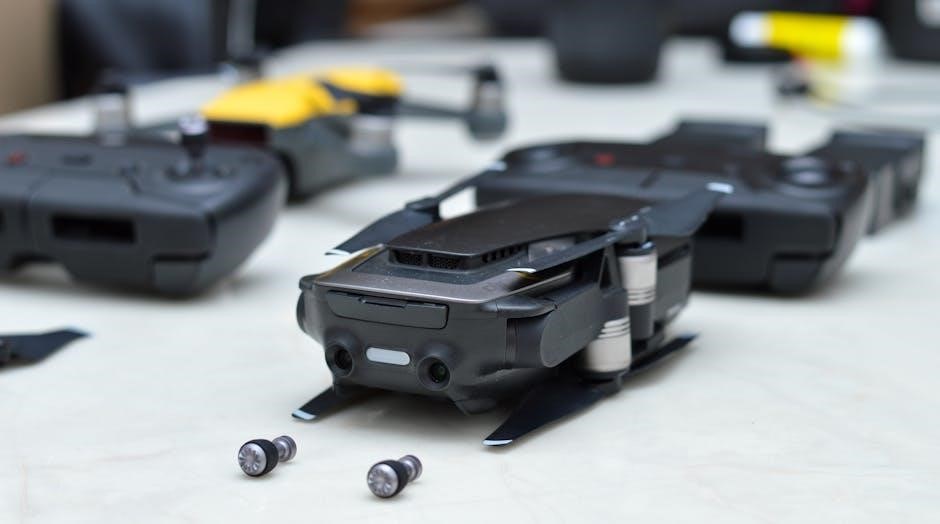
Upon unboxing your DJI Mavic Pro, you’ll find a comprehensive set of components designed to get you airborne quickly and safely; The core of the package, of course, is the Mavic Pro drone itself, featuring its foldable arms and integrated camera/gimbal system.
Alongside the drone, you’ll receive the remote controller, enabling precise control over your flights. A set of intelligent flight batteries are included, providing ample power for extended aerial adventures. These batteries boast a capacity of 43.6 Wh and operate at 11.4 V.
Further enhancing your experience are propeller pairs – ensuring stable and efficient flight. A battery charger is provided for convenient recharging, alongside a power cable to connect to a standard power outlet. You’ll also find a gimbal clamp for secure transportation and protection of the camera. Finally, the package includes various cables (USB, RC to USB), and a set of spare control sticks for the remote controller.
Drone Anatomy – Identifying Key Parts
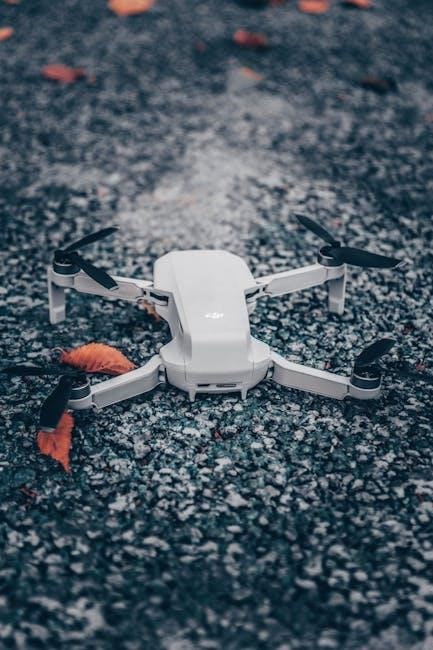
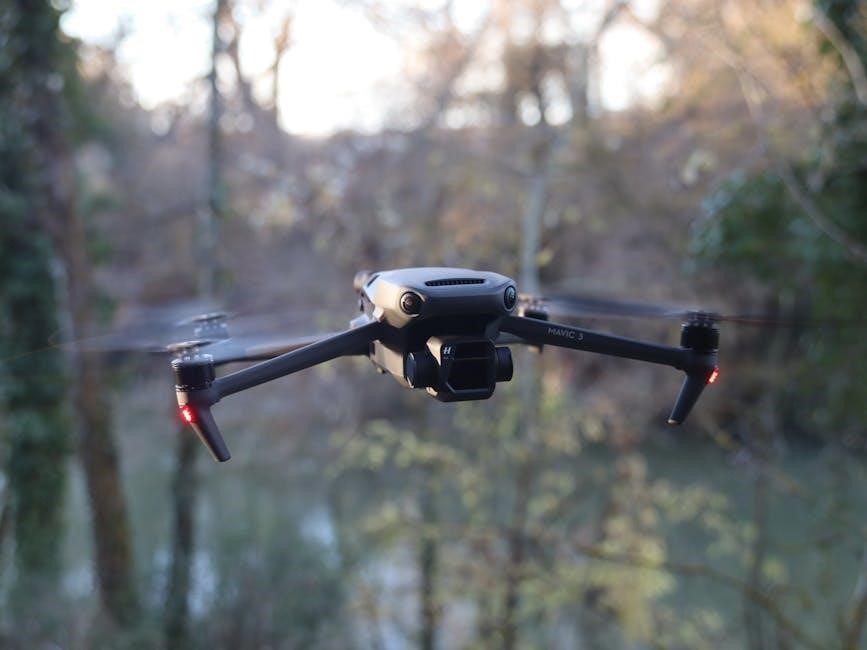
The DJI Mavic Pro’s design incorporates several key components crucial for understanding its operation. At its heart are the four rotors, responsible for lift and maneuverability. These attach to the foldable arms, a defining feature of the Mavic Pro’s portability.
The central body houses the flight controller, responsible for stabilizing the drone and executing commands. Integrated into the front is the 3-axis gimbal, supporting the camera and ensuring smooth footage. Below, you’ll find the battery compartment, accommodating the 43.6 Wh intelligent flight battery.
On the underside, obstacle avoidance sensors aid in safe flight. The vision positioning system (VPS) assists with stable hovering. At the rear, you’ll locate the microSD card slot for storing captured photos and videos. Finally, the power button and status LEDs provide essential operational feedback.
Remote Controller Overview
The DJI Mavic Pro’s remote controller is your primary interface for piloting the drone. It features integrated antennas for reliable communication, extending the operational range up to 80 meters. The mobile device holder securely accommodates your smartphone or tablet, displaying a live camera feed via the DJI GO 4 app.
Two control sticks govern the drone’s movement – left stick for altitude and rotation, right stick for forward/backward and lateral movement. Customizable buttons allow for quick access to frequently used functions like photo and video capture. A return-to-home (RTH) button initiates automated return functionality.
The controller also includes a status display showing battery level, signal strength, and altitude. A USB port facilitates charging and firmware updates. Understanding these components is vital for effective and safe drone operation.
Preparing for Flight
Prior to each flight, ensure batteries are fully charged and propellers are securely installed; regularly update the DJI GO 4 app’s firmware for optimal performance.
Proper preparation guarantees a safe and enjoyable flying experience with your DJI Mavic Pro drone.
Battery Charging and Management
Proper battery care is paramount for maximizing the lifespan and performance of your DJI Mavic Pro’s intelligent flight battery. Utilize the provided DJI battery charger, ensuring a stable power source during the charging process. A full charge typically takes between 60-120 minutes.
Avoid overcharging or completely depleting the battery, as both can degrade its capacity over time. The DJI GO 4 app displays crucial battery information, including voltage, charge level, and overall health. Regularly check for any signs of swelling or damage to the battery casing.
Store batteries in a cool, dry place, ideally between 22°C to 28°C (72°F to 82°F). Never leave batteries exposed to extreme temperatures or direct sunlight. It’s recommended to discharge batteries to approximately 40-60% for long-term storage. Following these guidelines will ensure reliable power for your flights and extend the battery’s usable life.
Propeller Installation and Maintenance
Correct propeller installation is critical for safe and stable flight with your DJI Mavic Pro. Each propeller is marked with a specific direction – clockwise or counter-clockwise – and must be attached to the corresponding motor arm. Ensure a secure fit by firmly pressing down and twisting the propeller until it locks into place.
Regularly inspect propellers for any cracks, chips, or bends. Damaged propellers significantly impact flight performance and pose a safety risk. Replace any damaged propellers immediately. Cleaning propellers with a soft, damp cloth removes dust and debris, maintaining aerodynamic efficiency.
Avoid dropping or mishandling propellers. Store them safely when not in use. Consider purchasing extra sets of propellers to have readily available for replacements. Proper maintenance ensures optimal thrust and control during your aerial adventures.
Firmware Updates – DJI GO 4 App
Maintaining up-to-date firmware is essential for optimal performance, stability, and access to the latest features of your DJI Mavic Pro. The DJI GO 4 app facilitates this process seamlessly. Upon launching the app, it automatically checks for available updates for both the drone and the remote controller.
Before initiating an update, ensure the drone has sufficient battery power (above 50% is recommended) and a stable internet connection. Do not interrupt the update process, as this could potentially damage the drone’s firmware. Follow the on-screen prompts carefully.
Recent user experiences highlight potential account login issues post-update, emphasizing the importance of a stable connection. Firmware updates often address compatibility concerns and enhance overall flight safety. Regularly check for updates to benefit from these improvements.
Flight Basics
Mastering flight basics involves powering on/off procedures, understanding GPS, ATTI, and Sport modes, and utilizing basic controls for safe navigation.
Successful operation requires familiarization with these core elements before embarking on aerial adventures with your DJI Mavic Pro.
Powering On/Off and Initial Setup
To power on the DJI Mavic Pro, place it on a level surface. Press the power button on the aircraft battery once, then press and hold it until the propellers spin. Repeat this process for the remote controller.
Initial setup requires the DJI GO 4 app. Connect your mobile device to the remote controller and launch the app. Follow the on-screen prompts for aircraft activation, compass calibration, and IMU calibration. Accurate calibration is vital for stable flight and precise positioning.
Before each flight, ensure propellers are securely attached and the battery is fully charged. Check for any visible damage to the drone or its components. Confirm a strong GPS signal is acquired before takeoff, indicated within the DJI GO 4 app. Always perform a pre-flight check to ensure safe operation.
To power off, land the drone safely and hold the power button on the aircraft battery until it completely shuts down. Turn off the remote controller similarly.
Understanding Flight Modes (GPS, ATTI, Sport)
GPS Mode is the default and safest mode, utilizing GPS for stable hovering, Return to Home (RTH) functionality, and precise positioning. It’s ideal for beginners and general flight scenarios.
ATTI Mode (Attitude Mode) disables GPS, relying on the drone’s internal sensors for stabilization. This mode is suitable for experienced pilots in environments with GPS interference, but requires more manual control and doesn’t offer RTH.
Sport Mode unlocks increased speed and agility, sacrificing some stability for dynamic flight. It’s intended for experienced pilots comfortable with faster response times and reduced assistance. Be cautious when using Sport Mode, as it demands greater piloting skill.
Switching modes is done via the DJI GO 4 app or the remote controller. Always understand the implications of each mode before engaging it, prioritizing safety and control.
Basic Flight Controls and Navigation
Left Stick controls altitude (up/down) and yaw (rotation). Gentle movements are key for smooth operation. Right Stick manages forward/backward and left/right movement. Practice coordinated stick inputs for precise control.
Intelligent Flight Assistance features, enabled through the DJI GO 4 app, provide automated assistance like obstacle avoidance and course lock. Familiarize yourself with these settings.
Navigation relies on the on-screen map displaying the drone’s position and orientation. Utilize the ‘Return to Home’ button for automated landing in case of emergencies or signal loss.
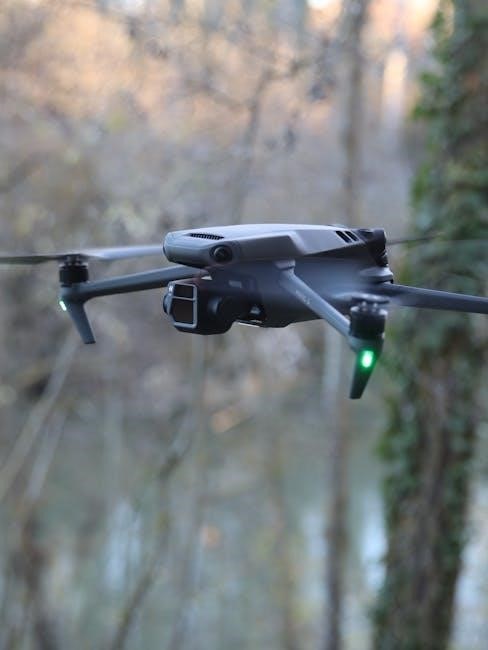
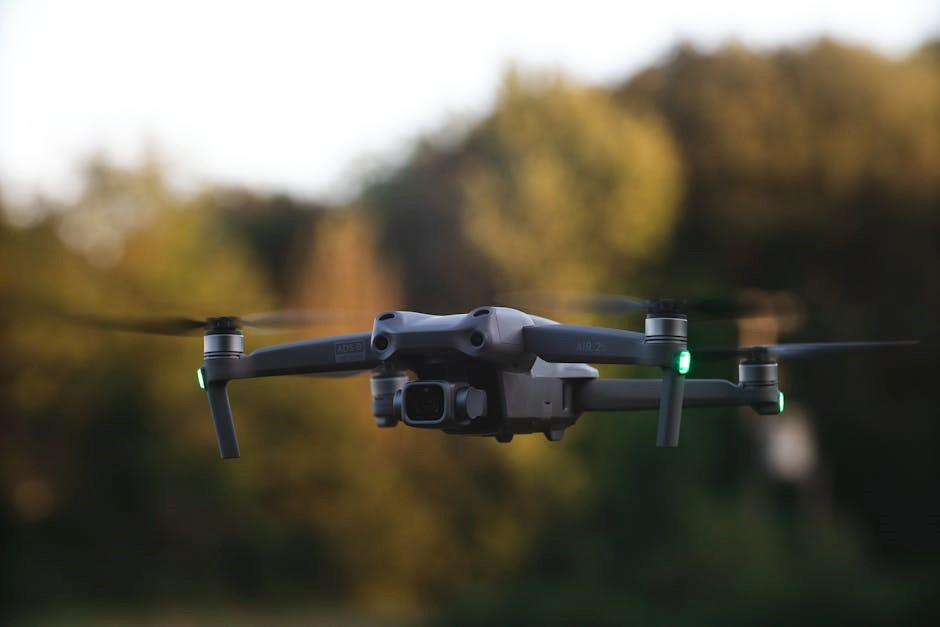
Visual cues, like the drone’s LED indicators, provide essential information about flight status and battery level. Always maintain visual line of sight with the drone for safe operation.
Camera Operation and Settings
The Mavic Pro’s camera offers adjustable resolution, frame rates, and ISO settings for optimal image quality. Explore photo, video, and burst shooting modes.
Utilize gimbal control for smooth, stabilized footage, ensuring professional-looking aerial photography and videography during every flight experience.
Camera Settings – Resolution, Frame Rate, ISO
Resolution dictates the detail captured in your images and videos. The Mavic Pro allows selection from various resolutions, including 4K at 30fps, 2.7K, and 1080p, catering to different needs and storage capacities. Higher resolutions demand more storage space but provide sharper results.
Frame Rate determines the smoothness of your videos. Common options include 24fps for a cinematic look, 30fps for standard video, and 60fps for slow-motion effects. Selecting the appropriate frame rate is crucial for achieving the desired visual style.
ISO controls the camera’s sensitivity to light. Lower ISO values (e.g., 100) are ideal for bright conditions, producing cleaner images. Higher ISO values (e.g., 3200) are useful in low light, but can introduce noise or grain. Balancing ISO with shutter speed and aperture is key to achieving well-exposed footage.
Experimenting with these settings allows you to tailor the Mavic Pro’s camera to specific shooting scenarios, maximizing image quality and creative control.
Shooting Modes – Photo, Video, Burst
Photo Mode is the standard setting for capturing still images, allowing full control over camera settings like resolution, ISO, and white balance. It’s ideal for landscapes, portraits, and general photography.
Video Mode enables recording of moving images, with options for different resolutions and frame rates. This mode is perfect for creating cinematic footage, documenting events, or capturing aerial perspectives. Stabilized footage is a key benefit.
Burst Mode captures a rapid sequence of photos by simply holding down the shutter button. This is invaluable for action shots, wildlife photography, or any situation where timing is critical, increasing the chances of capturing the perfect moment.
Understanding and utilizing these shooting modes unlocks the Mavic Pro’s full potential, allowing you to adapt to various shooting conditions and creative visions.
Gimbal Control and Stabilization
The DJI Mavic Pro’s 3-axis gimbal is crucial for achieving smooth, stable footage, counteracting drone movement during flight. This mechanical stabilization system minimizes vibrations and ensures clear, professional-looking videos and photos.
Gimbal control within the DJI GO 4 app allows for manual tilt and pan adjustments, enabling creative camera angles. Users can also select from various gimbal modes, including Follow, Course Lock, and FPV, tailoring the gimbal’s behavior to their specific needs.
Calibration is essential for optimal gimbal performance. Regularly calibrating the gimbal ensures accurate stabilization and prevents unwanted drifting. The app provides guided calibration procedures.
Proper gimbal operation and maintenance are vital for maximizing the Mavic Pro’s image quality and capturing stunning aerial visuals.
Safety Features and Regulations
The DJI Mavic Pro incorporates geofencing, Return to Home (RTH), and requires adherence to FAA regulations for safe and legal operation.
Understanding no-fly zones and weight restrictions, especially concerning LEDs, is vital for responsible drone piloting and avoiding legal issues.
Geofencing and No-Fly Zones
The DJI Mavic Pro utilizes geofencing technology, a virtual perimeter system designed to prevent the drone from entering restricted airspace. This is a critical safety feature, automatically limiting flight within designated no-fly zones, such as near airports, prisons, and sensitive government facilities.
The DJI GO 4 app displays these zones on a map, providing pilots with clear visual guidance. It’s crucial to always check the app before each flight to be aware of any temporary flight restrictions (TFRs) or updated no-fly zone information. Ignoring these restrictions can lead to significant fines and legal repercussions.
While geofencing is a robust system, it’s not foolproof. Pilots are ultimately responsible for understanding and complying with all applicable aviation regulations. Circumventing geofencing measures is strictly prohibited and dangerous. Regularly updating the DJI GO 4 app ensures the most current no-fly zone data is available, maximizing flight safety and legal compliance.
Return to Home (RTH) Function
The DJI Mavic Pro’s Return to Home (RTH) function is a vital safety feature, automatically piloting the drone back to its takeoff point in several scenarios. These include signal loss between the drone and the remote controller, critically low battery levels, or activation by the pilot through the DJI GO 4 app.
RTH operates in two modes: immediate and delayed. Immediate RTH initiates the return instantly, while delayed RTH allows for a brief period before ascent, potentially regaining signal. The RTH altitude is pre-set and should be configured higher than any surrounding obstacles to ensure a safe return path.
Pilots should always verify the RTH altitude before each flight and be aware of potential interference that could affect GPS signal strength. While RTH is reliable, it’s not a substitute for responsible piloting and maintaining visual line of sight. Understanding its limitations is key to safe operation.
Understanding FAA Regulations (US)
Operating a DJI Mavic Pro within the United States requires adherence to Federal Aviation Administration (FAA) regulations. Currently, most recreational drone pilots must register their drone and pass the TRUST (The Recreational UAS Safety Test) to legally fly. This ensures basic knowledge of airspace rules and safe operating procedures.
The FAA mandates flying below 400 feet, maintaining visual line of sight, and avoiding restricted airspace, including near airports and sensitive infrastructure. Utilizing apps like B4UFLY is crucial for identifying no-fly zones and geofencing limitations.
Commercial drone operations necessitate a Part 107 certificate, requiring a more comprehensive knowledge test and adherence to stricter regulations. Staying updated on FAA rule changes is vital, as regulations evolve. Failure to comply can result in substantial fines and penalties.